
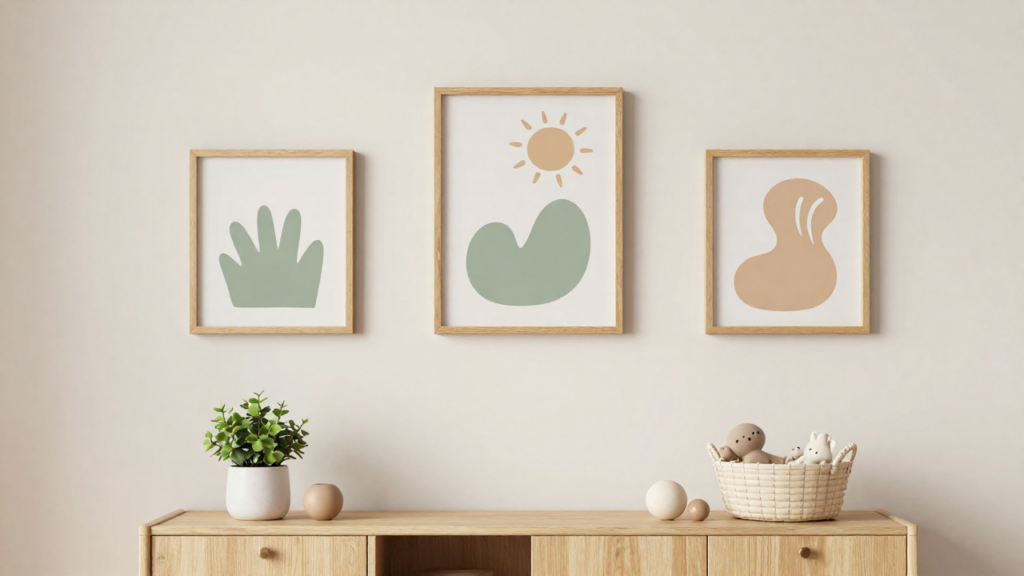
Start with a wall away from the crib, changing area, and other places where your child could reach the art. Plan a small arrangement of individual pieces, test it with paper templates, and leave room to add or swap artwork later. You’ll have a gallery wall that feels complete now without committing the room to a baby-only theme.
Choose the wall before choosing the art
Look at the room as it will be used, not just as an empty space. A clear wall across from the crib or beside the doorway may be a better candidate than the wall directly above a sleeping or changing area.
Before settling on a location, ask:
- Could your child reach the artwork now or later by standing, climbing, or reaching from furniture?
- Might a dresser, bed, or chair move beneath it as the room changes?
- Is there enough clear wall space without crowding a door or other furniture?
- Can the pieces be mounted securely on that wall?
Keep framed art and other wall objects away from sleeping and changing areas and out of a child’s reach. Reassess the location as your child becomes mobile and whenever you rearrange the room. If you cannot mount a piece securely in a particular spot, choose another location.
Pick a theme with room to grow
A broad idea is easier to adapt than a tightly matched collection. Animals, nature, or a mix of family favorites can all be starting points. Repeat one or two visual elements—such as a subject, frame style, or overall mood—to help the grouping feel intentional.
Consider two approaches:
- Animal-focused: Start with a favorite animal and add other subjects gradually. A bunny wall art piece could be one starting point, with different artwork chosen separately as interests develop.
- Mixed and personal: Combine an animal illustration with a family photo or a drawing. A bear-family wall art piece could sit alongside unrelated pieces that share a playful or nature-inspired feel.


A focused theme can be easier to pull together, while a mixed collection may accommodate new interests more naturally. Neither needs to match perfectly. Choose art you enjoy on its own so one swap won’t unravel the whole arrangement.
Measure and make a paper layout
Before putting holes in the wall, measure the usable wall area and note furniture, switches, and doorways nearby. If the arrangement will sit near a piece of furniture, measure that too. Make a quick sketch so you can see the boundaries.
Then test the layout:
- Make paper templates representing the outer dimensions of the pieces you plan to hang, including frames if applicable.
- Arrange the templates on the floor. Move them around until the grouping feels balanced.
- Transfer the templates to the wall using a method suited to the surface. Step back and view the arrangement from the doorway and elsewhere in the room.
- Check the space around the grouping, including any furniture a child might use to reach it.
- Adjust the templates before marking hanging points. Check the actual position of each piece’s hanger rather than assuming it is at the top of the frame.
What is the two-thirds rule for wall art?
The two-thirds rule is an optional proportion guide: when art is grouped above a piece of furniture, the overall arrangement can be roughly two-thirds as wide as the furniture. Compare the width of the whole gallery with the width of the furniture, rather than measuring each piece separately.
It is not a safety rule or a requirement. A narrower grouping can work on a small wall, and an arrangement can expand over time. If following the guideline would put artwork within a child’s reach or over a sleeping or changing area, choose a different location instead.
Try a three-piece starter arrangement
You don’t need to fill the wall immediately. Try this simple plan:
- Choose one piece as the focal point.
- Place two supporting pieces beside it or slightly above and below it.
- Keep the gaps visually consistent, even if the pieces are different shapes.
- Leave clear space on one side where you could add another piece later.
Stand back and check whether one side feels noticeably heavier. You can balance a visually prominent piece with two quieter ones, or move a supporting piece closer to the center. If the arrangement feels crowded, remove a template and try again.
A grid offers a tidy look and makes spacing straightforward, but adding a different-shaped piece later can disrupt the pattern. A looser cluster is more forgiving when you want to add a drawing or replace one piece. It still benefits from a shared feature and consistent-looking gaps.
Choose pieces and frames with future swaps in mind
Think of each artwork as an independent choice rather than assuming a matching set. Before ordering, review each listing to understand what is included and whether it works with your intended display. If you’re using frames, check their dimensions against your templates and consider whether you can easily change the artwork inside them.
For visual continuity, you might keep a similar frame style across the wall or repeat a subject in more than one place. You can also mix frames deliberately; a recurring subject or overall mood can help connect them.
Leave yourself options. A frame that accommodates a replaceable print or drawing can be useful later, while a favorite standalone piece can stay as the room changes. Avoid choosing a piece solely to complete a pattern if you wouldn’t enjoy it on its own.
Mount carefully and check again over time
Use mounting hardware suited to the wall and the weight and type of each object, following the hardware and wall manufacturer’s instructions. Make sure every piece is secure; if you’re unsure how to mount it on your wall, ask a qualified installer for help.
Periodically check that the artwork and hardware remain secure and that nothing has moved into reach. Repeat the check after moving furniture, changing a frame, or adding to the gallery. A location that worked for a newborn may need reconsideration for a child who can stand or climb.
Update the wall one piece at a time
As your child grows, keep a piece that still feels meaningful and replace another with a drawing, a photograph, or art reflecting a new interest. You can also change the arrangement instead of replacing everything: move a supporting piece, add a new one in the space you left open, or simplify the wall if the room becomes busier.
Before any update, repeat the reach and mounting checks. A flexible gallery is not just easy to restyle; it is easy to reassess when the room is used differently.
Quick planning checklist
- Choose a location away from sleeping and changing areas and out of reach.
- Measure the usable wall and nearby furniture.
- Pick a broad theme or a few recurring visual elements.
- Test paper templates before making holes.
- Leave space for a future addition or swap.
- Check individual listings for what is included.
- Mount securely and reassess as your child and the room change.
Do gallery walls have to follow a rule or trend?
No single layout rule determines whether a gallery wall works. Consistent spacing and a shared visual element can help, but the best arrangement is one that suits your room and can change with your family. Rather than designing around a short-lived trend, choose pieces you like and a layout you can maintain safely.