
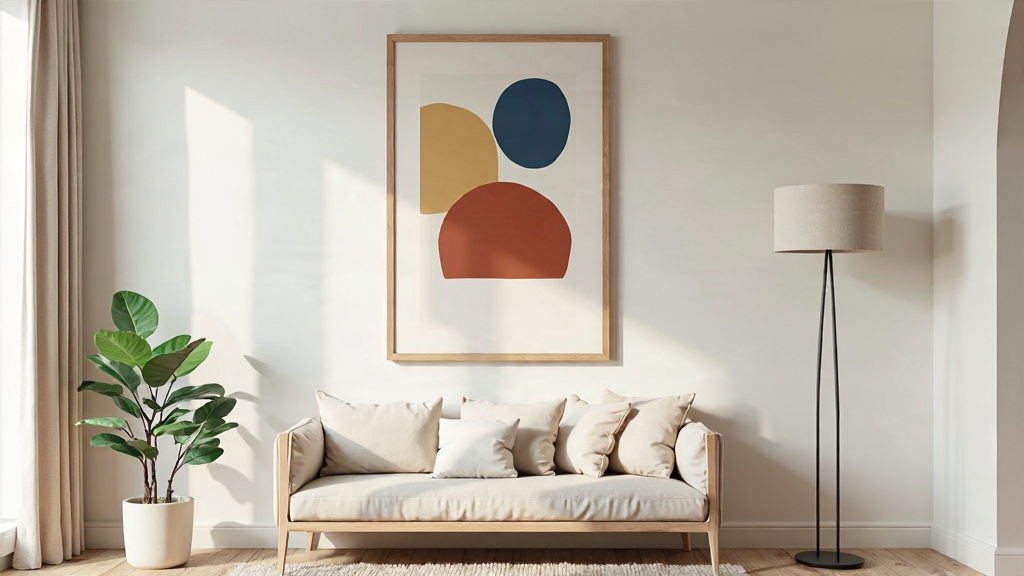
To choose wall art for a small room, start with one focal wall and try either a single piece or a compact grouping. Measure the usable space, test the arrangement with paper templates, and leave some wall uncovered. The goal isn’t to find the smallest art possible; it’s to choose a display that fits comfortably alongside the things you use every day.
Find the right wall first
Look at the room from its usual entrance and from the places where you sit or stand. Which wall naturally catches your attention? That is often a good place to begin, but it also needs to work around the room’s practical features.
Check for doors, switches, cabinets, shelves, and furniture that might compete with the art or make it difficult to see. A wall may look empty when a door is closed but disappear behind it when the door is open. In a kitchen, a clear section near a dining area might be more useful than a narrow strip squeezed between cabinets.
Consider what is already nearby. Open shelving, patterned curtains, and a busy countertop can all add visual activity. If one area already has plenty going on, an adjacent blank wall can provide a welcome pause. You don’t need to decorate every available surface.
If no wall feels quite right, try relocating an existing object before adding art. That may give a favorite piece more room to stand out.
Measure the usable space, not just the wall
Measure the area where the art can actually hang. If it will sit above a table, sofa, or bar cart, note the width of that furniture too. Include any frame in your planning, and allow room around the arrangement so it doesn’t feel pressed against a ceiling, cabinet, or corner.
Art above furniture can be narrower than the furniture beneath it to help the two feel connected. Some decorators use roughly two-thirds of the furniture’s width as a starting point for the overall display. Treat that as an experiment, not a requirement: a narrower piece may work better on an awkward wall, while a broader one may suit an otherwise simple space.
Before ordering, cut paper templates to represent the outside dimensions of the intended display, including any frame. Tape them up temporarily with tape appropriate for your wall, and try a few positions:
- Compare one substantial rectangle with two smaller ones occupying a similar overall area.
- Step back to the doorway and check whether the arrangement feels connected to the room.
- Sit at the table or sofa and see whether it looks comfortable from there.
- Open nearby doors and cabinets to make sure they won’t interfere.
If the templates crowd surrounding features, try a smaller arrangement or another wall. If they look isolated on a broad wall, consider a larger single piece or a grouping rather than scattering tiny pieces across the space.
Choose an arrangement that leaves breathing room
One piece: the simplest starting point
A single piece creates a clear focal point and is usually the easiest arrangement to plan. It can be a good choice when the room already has open shelves, patterned textiles, or several functional items in view.
Centering art over a piece of furniture is one option. If the wall or furniture placement is irregular, try shifting the template slightly and judging the whole scene rather than insisting on perfect symmetry. Leave some space between the art and the furniture, but keep them close enough to read as a deliberate arrangement.
Check the height from the position where you’ll usually enjoy it. A display in a dining nook, for example, should feel comfortable when you’re seated as well as when you walk into the room.
A pair: related, but not necessarily identical
Two pieces can fill a wider space without relying on one large image. Treat both pieces and the gap between them as one overall shape. Try aligning their top or bottom edges, then use templates to check that the spacing feels even.
A pair can look crowded if it nearly touches the edges of the available wall. In that case, use one piece, choose a different location, or leave more space around the outside of the pair.
A compact grouping: more variety, more planning
A small gallery-style grouping can work in a small room, but it asks more of the viewer than a single piece. Plan the outer boundary first and keep the spaces between pieces reasonably consistent. This helps the group read as one arrangement instead of several disconnected objects.
Lay out templates on the floor or wall before committing. If the grouping feels busy, remove one template and reassess. There’s no need to add an odd number of pieces or follow a fixed decorating formula: choose the count that looks intentional in your space.
Make different pieces feel cohesive
Art doesn’t have to match exactly. One shared element can give a grouping enough continuity: a subject, a palette, a similar framing approach, or a consistent level of visual detail. Let the other elements vary so the room doesn’t feel overly planned.
Decide whether you want the art to be the room’s focal point or a quieter part of the background. A bold subject can give a simple room character, but several attention-grabbing pieces close together may compete. If you prefer a calmer arrangement, start with one piece you enjoy and leave the surrounding wall open before deciding whether anything else is needed.
Frames also affect the overall impression. A visually substantial frame takes up more space and adds another design element; a simpler framing approach can let the art take the lead. Include the frame in your template rather than judging the artwork alone.
Try the approach in a small kitchen or bar area
A small kitchen often has limited uninterrupted wall space. Look beyond the busiest work surfaces: a wall beside a dining nook or near a bar cart may offer a clearer view and less interference with daily activity. Avoid places where art is likely to be bumped or exposed to cooking splashes.
For a single subject suited to a bar area, consider a Bloody Mary print. For a kitchen or cocktail corner, an espresso martini poster is another single-piece starting point. These are separate wall-art listings; choose the subject that suits the space rather than assuming you need both.


Test the intended arrangement before ordering, and review the listing for the options relevant to your display. If you later add a second piece, repeat the template test with both together rather than assuming an empty gap needs to be filled.
Before you buy
Confirm your available wall area and compare it with the options shown on the listing. Think through whether you intend to frame the art and how the finished display will be hung. Check what you’ll need separately rather than assuming hanging supplies are included, and consider any restrictions on making holes if you rent.
Finally, look at your paper layout during an ordinary day. Can you open the cabinet, move around the furniture, and see the art without it competing with everything nearby? If so, you have a practical starting point—and you can always leave the rest of the wall blank.